Search
What does the ‘Missing Pictures’ warning mean and how do I fix it?
The 'Missing Pictures' warning means the editor can’t find the original files for those photos. The albumworks editor doesn’t make a copy of each photo in your project — it simply links to the original file path for each photo on your computer. If the file path changes, or the files are no longer accessible, you’ll get this warning.
Common causes for the Missing Picture warning:
Photos saved on a USB or external drive: if that device isn’t plugged in, the editor won’t be able to find the photos.
Adding images directly from Photos App (Mac): unfortunately MacOS puts these images into a temporary folder which gets deleted after a set time or if your computer is restarted. We recommend exporting photos to a permanent folder before adding them to your project.
Using OneDrive (Windows): if OneDrive is enabled, it might be set up to move files into the cloud and not leave a copy on your computer. If you see a blue cloud icon or green tick with white background icon next to your photo files, they are not stored locally.
To ensure image files are available on your hard drive, go to OneDrive Settings > Sync and backup > Files On-Demand, and click ‘Download all files’.*
*This may take up a significant amount of space on your hard drive so you may want to consult with your computer technician before doing this.
Files have been moved or renamed: if you’ve moved or renamed image files after adding them to your project, the editor will no longer be able to locate them.
How to fix Missing Pictures:
Open the editor and select ‘Projects’.
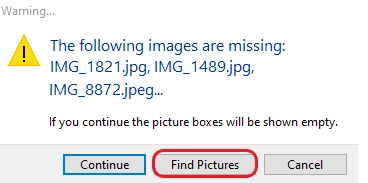
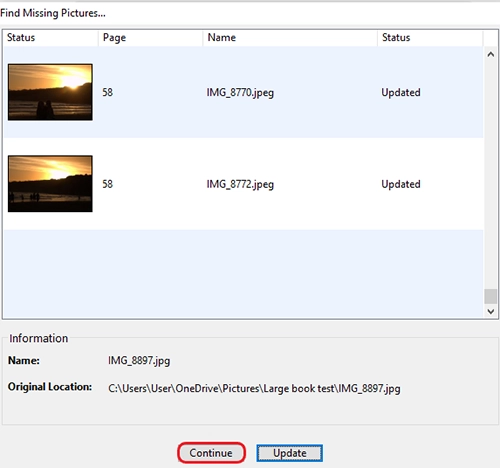
Double-click your project name. If pictures are missing, a pop-up will appear — click ‘Find Pictures’.
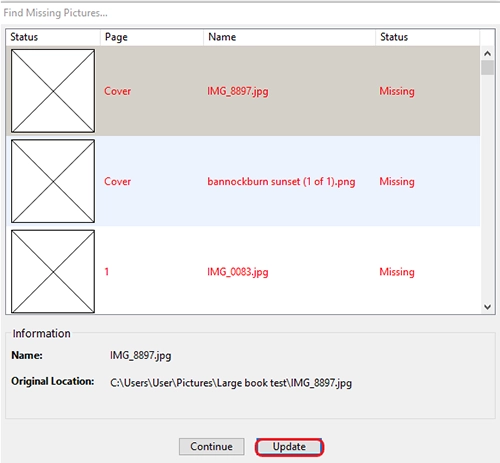
In the list that appears, select a missing photo and click ‘Update’. Browse to its new location on your computer, highlight the file and click ‘Select’.
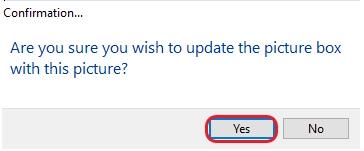
- You will be asked to confirm whether you want to update the picture, or you will be advised if you've selected a different picture from the original.
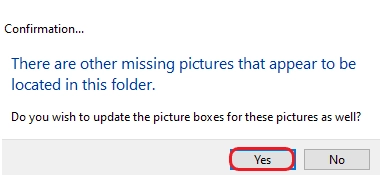
If the editor finds other missing images in the same folder, it will ask to update them automatically. Click ‘Yes’.
File names should turn from red to black when updated successfully. Repeat for any remaining red ones.
Click ‘Continue’ to open your updated project and remember to ‘Save’.
To prevent this issue in future, we recommend saving all the photos you plan to use in your project to a dedicated folder on your computer’s hard drive before you start.
You can watch a step-by-step video tutorial here: How to fix missing pictures in your albumworks project.